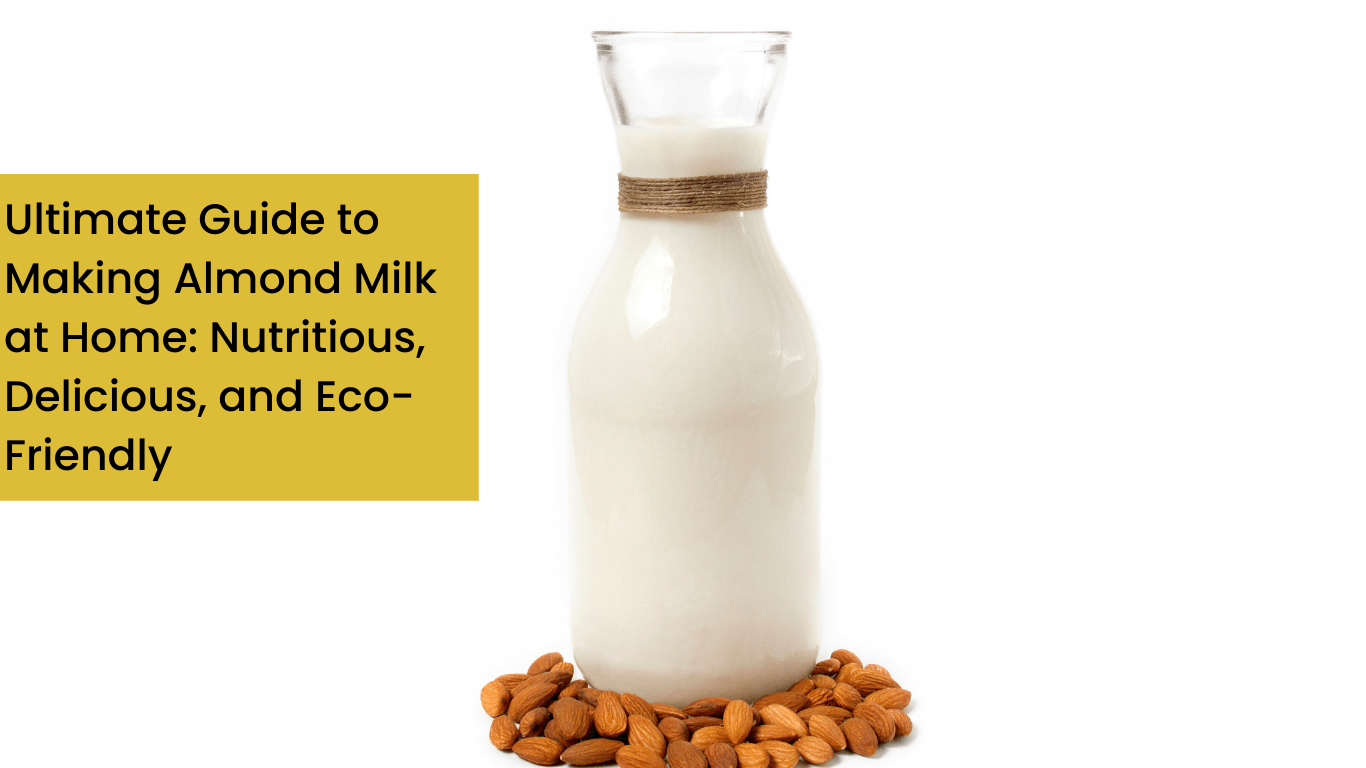
How to make almond milk?

Introduction
Almond milk has gained immense popularity in recent years as a nutritious and delicious dairy-free alternative. Making almond milk at home is not only cost-effective but also allows you to control the ingredients and customize the flavor to your liking. In this step-by-step guide, we’ll teach you how to create your very own almond milk, using simple ingredients and minimal equipment.
- Gather Your Ingredients and Equipment
To make almond milk at home, you’ll need the following ingredients and equipment:
- Raw almonds (1 cup)
- Filtered water (4 cups, plus more for soaking)
- Sweetener of choice (optional: honey, maple syrup, agave nectar, or dates)
- Flavorings (optional: vanilla extract, cinnamon, or cocoa powder)
- Nut milk bag or cheesecloth
- Blender or food processor
- Large bowl
- Glass jar or bottle for storage
- Soak the Almonds
Start by soaking your raw almonds in a bowl of water for at least 8 hours or overnight. This process softens the almonds, making them easier to blend and improving the texture of the milk. Ensure the almonds are fully submerged in water, as they will expand while soaking.
- Drain and Rinse the Almonds
After soaking, drain the almonds and rinse them thoroughly under cold running water. Rinsing helps remove any residue from the soaking process, resulting in a cleaner and fresher taste in your almond milk.
- Blend the Almonds and Water
Place the soaked almonds and 4 cups of filtered water in a blender or food processor. Blend the mixture on high speed for 1-2 minutes, or until the almonds are finely ground, and the liquid appears milky.
- Strain the Almond Milk
Place a nut milk bag or cheesecloth over a large bowl and pour the blended almond mixture into it. Gently squeeze the bag or cheesecloth to extract the almond milk, leaving the almond pulp behind. Continue squeezing until you’ve collected all the liquid.
- Sweeten and Flavor (Optional)
If desired, add sweeteners and flavorings to the almond milk to suit your taste preferences. For a touch of sweetness, add 1-2 tablespoons of honey, maple syrup, agave nectar, or a couple of pitted dates. For extra flavor, consider adding 1/2 teaspoon of vanilla extract, a pinch of cinnamon, or a tablespoon of unsweetened cocoa powder. Blend the almond milk again to ensure the sweeteners and flavorings are well incorporated.
- Store Your Almond Milk
Transfer the almond milk to a glass jar or bottle and store it in the refrigerator. Homemade almond milk typically lasts for 3-5 days. Shake well before using, as the milk may separate during storage.
Conclusion
Making almond milk at home is a simple and rewarding process. With this easy-to-follow guide, you can create a fresh, nutritious, and customizable dairy-free milk alternative in no time. Enjoy your homemade almond milk in smoothies, with cereal, in coffee, or simply as a refreshing beverage on its own. Not only will you save money and reduce waste by making almond milk at home, but you’ll also enjoy the delicious taste and health benefits of this versatile plant-based drink.

